Hi lobos! Here’s a quick and easy DIY on how to make the glitter ornaments you’re seeing all over social media due
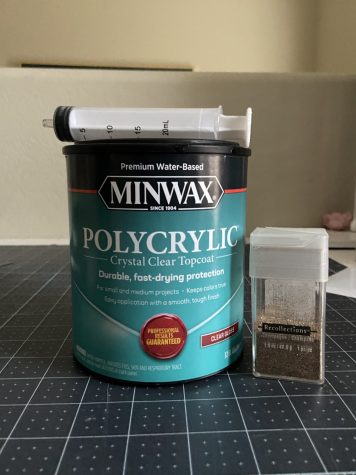
to the holiday season. To begin let’s gather all the items to spice up the Christmas tree!
Items Needed:
- Ornaments
- Clear Gloss Polyacrylic
- Fine Glitter
- Syringe
- Cup
- Paper
- Funnel
- Decal (OPTIONAL)
What they do
Clear Gloss Polyacrylic acts as a glue. The fine glitter will be the color going inside the ornament and the syringe will transfer the polyacrylic without making a mess. The funnel will make it easier to transfer the glitter. The cup will allow excess polyacrylic drain out. The paper will allow glitter to get shaken up inside without making a mess. If you know any small business or know how to, just to add the cherry on top you can customize it your own with decals.
Step by step
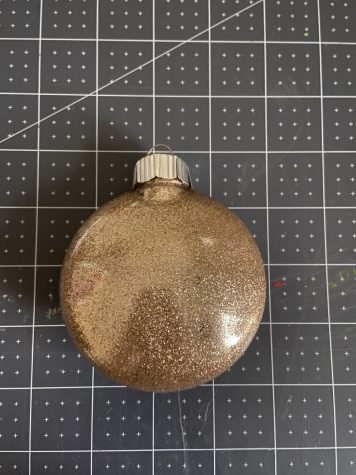
To begin, start with opening your ornament.
Secondly to your syringe add polyacrylic, after pour it inside the ornament. Continue by spinning it all around, and then place it upside down inside your cup to drain out the excess polyacrylic.
Thirdly pour in your very fine glitter, give it spin around to cover each part and to get the end cap covered in glitter just tap it against a piece of paper. With an additional cup pour out the excess glitter. Here is your
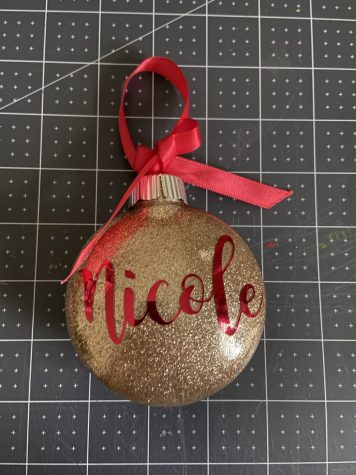
our glittery ornament.
And an unnecessary but welcome addition will be the decals! You can find these within any small business in reach or if you have a Cricut of your own!
Make sure to clean the area you will placing your decal on and transfer it on.
Here is the end result! Have fun and enjoy Lobos!


