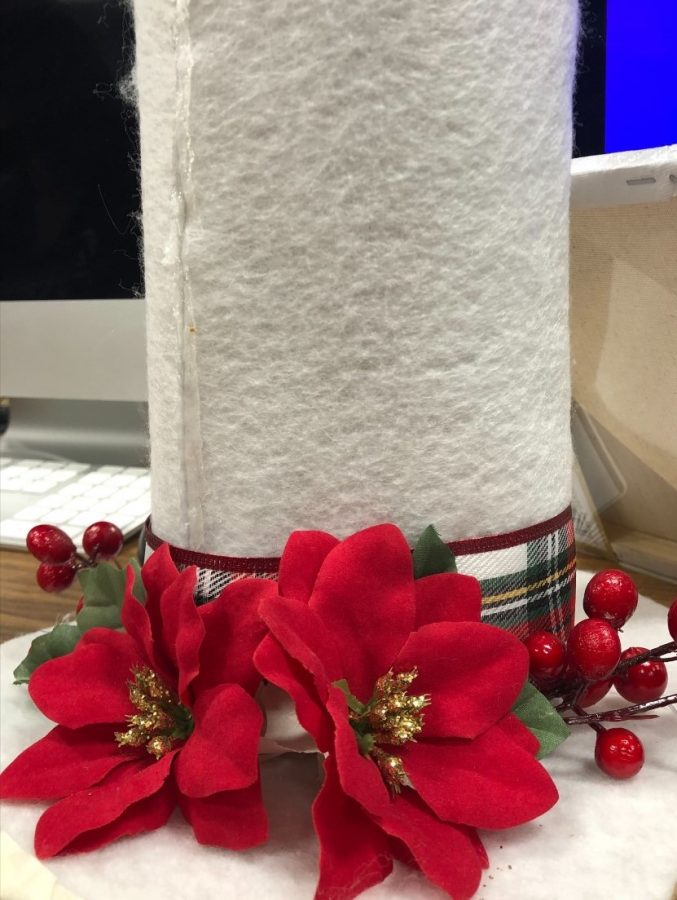
Want an interesting decoration on the top of the Christmas tree this year. How about a hat? Here’s how to make a cute hat for that tree.
Acquire materials. Without materials how is the hat even going to be made. First one of the more important materials is going to be plastic cardboard grab at least two. This can be found at any store. A hot glue gun and glue sticks, tape isn’t recommended to be used unless being used as a temporary replacement. Scissors this one is self-explanatory. Red or colored felt this will go outside of the plastic cardboard. A contrasting piece of fabric, this will be the Band of the hat. Sequin organza fabric this will be placed between the felt and the band of the hat. Then an assorted fake flowers and plants these will be optional decorations to add onto the hat.
Putting the hat together. The hat won’t put its self together. First grab the plastic cardboard and mark a line in the middle of the paper or desired length of the hat. Measure twice to be sure that the hat is at your desired length and cut. After cutting grab the plastic cardboard and glue it to a desired length.
Then with the other piece of cardboard draw two circles. One matching the width of the top of the hat. then one being slightly larger than the first. Around the second circle draw another circle this will be the brim of the hat. Grab the felt and make sure that the cardboard of the hat and the felt are almost the same length. When measuring out the felt for the top of the hat leave enough extra material to make gluing the top easier, this can also be said for the brim of the hat.
Cutting the brim and top out. These could be the hardest or easy part of this small project. The top being the easier of the two cutting out a circle and done. The brim you have to poke a hole into the inner circle and make sure not to cut the outer one. Then cut a line into the middle of the inner circle and cut the inner circle out.
Now that the layout of the hat is done let’s get started with gluing on the felt. First grab the felt and the top of the hat. Mark the felt with one circle on the inside matching in size with the hat’s lid. Then add a larger circle outside of that first circle. This will make gluing the lid of the hat and the sides of the hat easier.
After that is done then put lid of the hat now with felt glued on to the hat. Put the access felt on the inside of the hat and get as close as possible to any corners of the hat. Grab the tube that was cut out then start attaching the hot glue to the felt then glue the felt to the white cardboard. When gluing the felt to the cardboard line up the edges of the items and get as close to the edges as possible. when gluing.
After the felt has been added to the cardboard repeat the previous steps used for the felt when applying the sequin organza fabric. Get the top of the hat and glue it to well the top of the hat. After these steps let’s start gluing the hat together. First grab the brim of the hat and the middle of the hat and glue together. The bottom of the hat’s center should be glued to the top of the brim. When applying the hot glue put the glue on the top of the brim where the middle of the hat meets it. After gluing the brim to the rest of the hat grab that other piece of fabric wraps and glue the fabric to the sides of the hat. And after all of that add the fake plants to the top of the brim and the front of the band. These could be placed all over the hat or just placed in the front of the hat.
Good Job the hat is now done. Place it on the tree, on a snow man, a dog, anywhere.


